
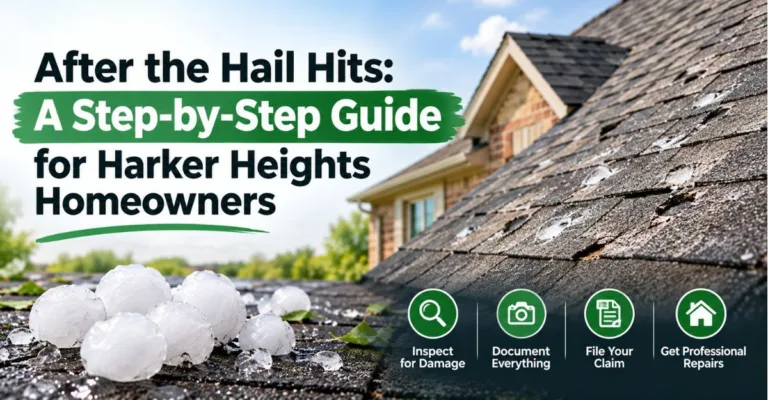
Hail season in Central Texas is a predictable visitor, even if the exact timing and severity aren’t. For homeowners in and around Harker Heights, late winter through early summer brings a heightened risk of severe convective storms that can drop hail ranging from marble-sized to baseball-sized, often accompanied by sustained high winds that significantly compound roofing damage. The weeks immediately following a major storm event are critical, and what you do or don’t do in that window shapes the outcome substantially.
This guide is specifically designed for Harker Heights property owners navigating the aftermath of a storm. From the first thirty minutes after the weather clears to the moment permanent repairs are complete, here is a clear, practical roadmap including when to call for emergency roof repair service in Harker Heights, TX, and what to expect at each step.
Step One: Stay Safe Before You Inspect
Before you step outside after a storm, verify that conditions are genuinely safe. Hail events are often followed by embedded tornado activity or additional storm cells, so check weather apps before going out. Once the storm has fully passed, start at ground level: check for downed power lines, large fallen branches, or structural instability before approaching the house. Never climb onto your roof to inspect it is dangerous under normal conditions and even more so when surfaces are wet, slippery, or structurally weakened.
Step Two: Document Exterior Damage from the Ground
Walk the perimeter of your home and document what you can see from the ground with your phone camera. Note: dents or dings on gutters and downspouts (a reliable indicator of hail caliber and impact intensity), dented or damaged AC condenser fins, paint damage or dings on siding and wood trim, and any visible shingle granules accumulated in gutters or downspout discharge areas. Granule accumulation is particularly telling: heavy granule loss from a single storm event indicates significant shingle impact damage, even if the roof surface looks intact from below.
Step Three: Inspect Interior Spaces for Water Intrusion
Move through every room, paying close attention to ceilings near exterior walls, skylights, chimneys, and any roof penetration. Water follows the path of least resistance, so an interior stain may not directly correspond to the entry point above—water can travel along rafters or trusses before dripping. If you have safe access, check your attic for daylight through the roof decking, wet insulation, or water staining on rafters. These interior signs are important documentation for your insurance claim.
Step Four: Call Your Insurance Company and Your Roofer
Once you’ve documented everything you can safely observe, contact your homeowner’s insurance company to report the potential claim in parallel, or after, and call a roofing professional. Call both at the same time: insurance adjusters often take several days to schedule an inspection, and in a major storm event affecting many properties, the timeline can be even longer. Meanwhile, any ongoing water intrusion continues to cause damage.
An emergency roof repair service Harker Heights TX contractor can deploy temporary weatherproofing tarps and barrier materials to stop water intrusion while the insurance process moves forward. A reputable contractor will also provide independent damage documentation that often proves invaluable if there’s any dispute about the scope of your insurance claim.
Step Five: Understand the Insurance Claim Process
After you file, your insurance company assigns an adjuster to inspect the damage. If possible, have your roofing contractor present during the adjuster’s visit; their trained eye can catch damage the adjuster may miss, and their professional documentation of the full scope of damage strengthens your position. Review the adjuster’s written scope carefully against your contractor’s assessment before agreeing to anything.
If the approved scope significantly underrepresents the actual damage, you can submit a supplemental claim with additional documentation. Experienced roofing contractors navigate this process regularly and can guide you through it.
Step Six: Schedule and Complete Permanent Repairs
Once the insurance scope is agreed upon, you can schedule permanent repairs. Depending on the extent of damage, this may involve partial shingle replacement, full reshingling, underlayment replacement, decking repair, or flashing replacement at penetration points. A trustworthy contractor sequences the work properly, addressing any underlying structural issues before laying new surface materials, and uses quality products suited to Central Texas conditions.
Ask your contractor about impact-resistant shingles if your current shingles were standard grade. The upfront cost difference is often modest, and some Texas insurance carriers offer premium discounts for impact-resistant roofing, plus the obvious benefit of better protection in the next storm.
Why Local Expertise Makes a Difference
Not all roofing contractors are created equal, and in a post-storm environment, the market fills quickly with out-of-state storm chasers who follow major weather events, collect deposits, and disappear before the work is fully complete or any warranty issues arise. Choosing a locally rooted contractor with an established presence in Harker Heights and the surrounding Bell County area protects you from those risks.
Apex Fencing and Roofing is Central Texas-based, consistently available, and accountable to the community it serves. When Harker Heights homeowners need emergency roof repair service in Harker Heights, TX, they can trust a contractor who will be around long after the storm season passes; Apex is the answer. From emergency response through final inspection, the Apex team handles every phase with the professionalism and local knowledge the Central Texas climate demands. Learn more and get your free assessment at Apex Fencing and Roofing .